Your Cart is Empty
✨FREE SHIPPING OVER $150. LOCAL PICK UP IS FREE! SIMCOE COUNTY DELIVERY IS JUST $5✨
✨FREE SHIPPING OVER $150. LOCAL PICK UP IS FREE! SIMCOE COUNTY DELIVERY IS JUST $5✨

Imagine sinking into a warm bath infused with soothing scents and skin-loving ingredients, all thanks to your very own DIY natural bath bombs. These fizzy wonders not only transform your bath into a spa-like experience but also make fantastic gifts. In this ultimate guide, we'll take you through the art of crafting bath bombs at home, step by step, and share a tried-and-true recipe that guarantees success. Get ready to elevate your bath time routine with these delightful and entirely natural creations.
The Basics of Bath Bombs
Before we dive into the recipe, let's understand the fundamentals of bath bombs:
Ingredients:
Step-by-Step Recipe
Now, let's get our hands dirty (literally) and make some bath bombs! Here's a recipe that's known to work, but do keep in mind that bath bombs can be a bit finicky and might require some trial and error to get the perfect consistency and shape. Don't be discouraged if your first attempt isn't picture-perfect; it's all part of the fun and learning process. {note: this is not the recipe that we use for our Two Sisters bath bombs, but is one that should work well for you!}:
Ingredients:
Instructions:
Step 1: Make sure you have all your ingredients and molds ready before you get started. You can use specialized bath bomb molds or even silicone ice cube trays for fun shapes.This is a great opportunity to involve the whole family and get everyone excited about the project.
Step 2: In a large bowl, combine the baking soda, citric acid, epsom salt, and cornstarch. Ensure the mixture is clump-free.Let the kids take turns whisking for a fun, family bonding activity.
Step 4: Slowly add the wet mixture to the dry ingredients while whisking constantly. This is important! You're looking for a texture similar to wet sand, so adjust the liquid as needed.
Step 5: Fill each half of your bath bomb mold with the mixture, packing it tightly. If you're using other molds, press the mixture firmly into them.
Step 6: Press both halves of the mold together and twist slightly to seal. If you're using ice cube trays, just press the mixture down evenly in each section.
Step 7: Allow your bath bombs to dry in the molds for at least 24 hours. This part requires patience, but it's a perfect opportunity to discuss the science behind the fizzing with the kids.
Step 8: Carefully remove the bath bombs from the molds. They're now ready for action! It's time to celebrate your family's creative efforts with a relaxing bath time experience.
Personalization and Tips
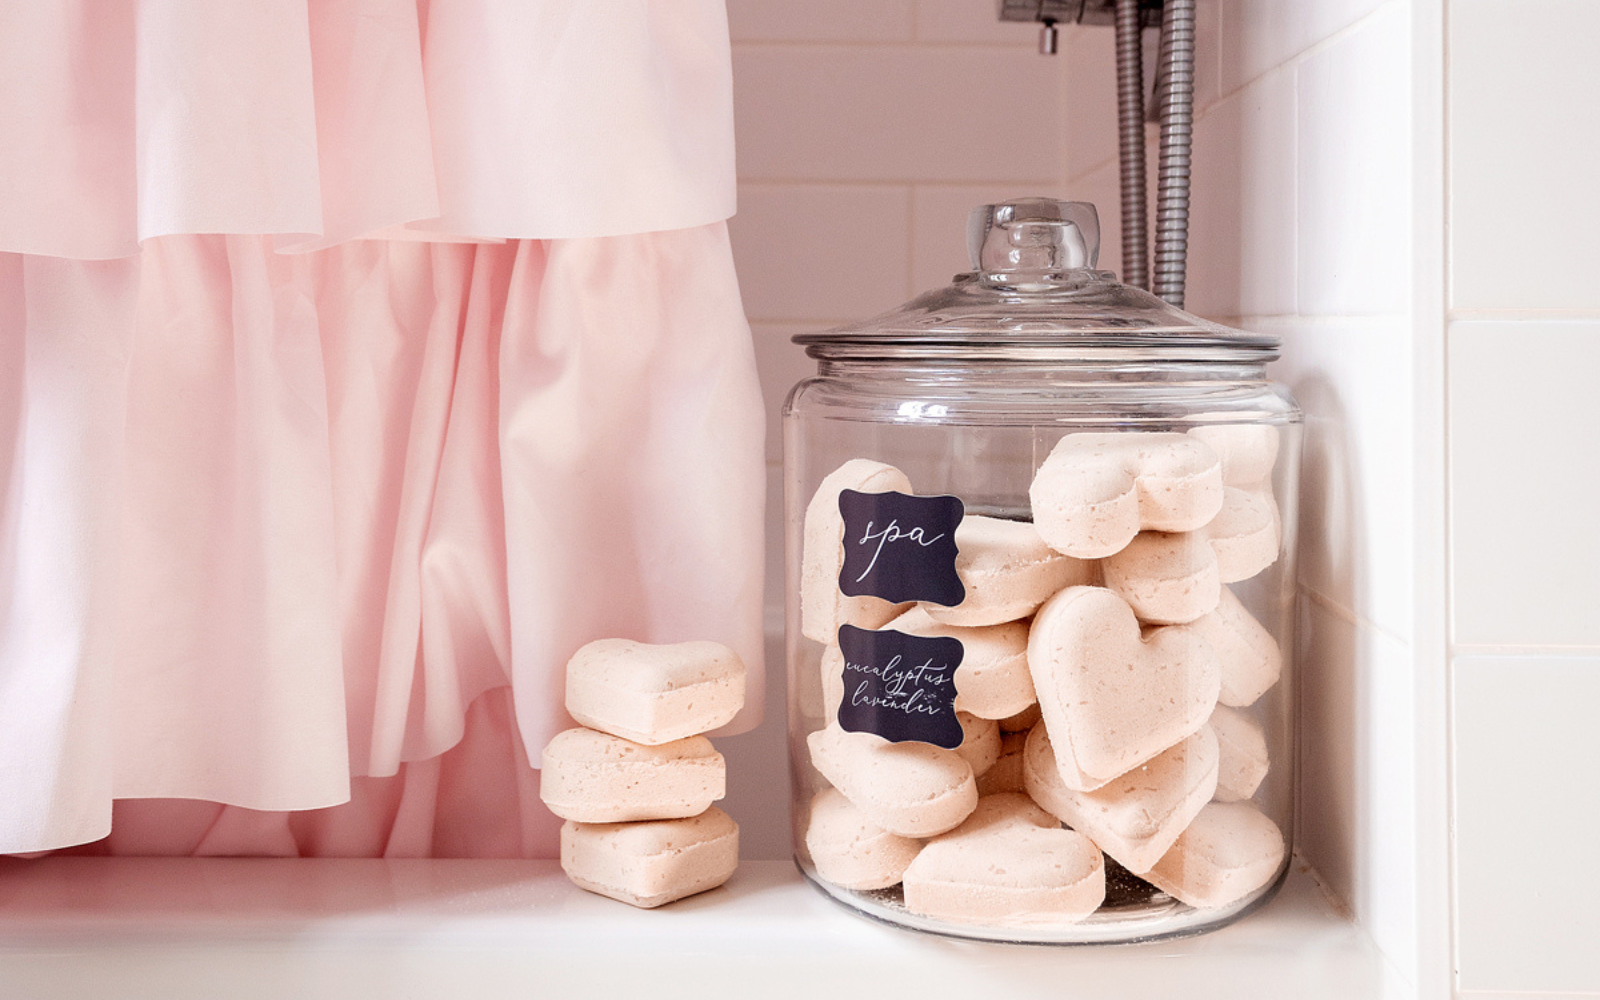
The beauty of DIY bath bombs lies in personalization. Get creative by adding dried flower petals, herbs, or even a surprise toy inside. Experiment with various essential oil blends for specific benefits—lavender for relaxation, eucalyptus for congestion relief, or citrus for an uplifting soak.
Here are some tips to enhance your bath bomb crafting experience and ensure success:
DIY natural bath bombs are a fantastic way to transform your bath time into a spa-like retreat. With a little creativity and the right ingredients, you can craft custom-made bath bombs that soothe your body and soul while elevating your self-care routine. So, roll up your sleeves, gather your supplies, and get ready for a fizz-tastic bath time experience!
Comments will be approved before showing up.